Deploy your private Gemini application for free with one click, supporting Gemini 1.5 Pro, Gemini 1.5 Flash, Gemini Pro and Gemini Pro Vision models.
Gemini Next Chat is a software tool designed to deploy private Gemini applications effortlessly, enabling users to leverage advanced AI capabilities with ease. It supports popular Gemini models such as Gemini 1.5 Pro, Gemini 1.5 Flash, Gemini Pro, and Gemini Pro Vision, providing robust functionality for various use cases.
Key Features:
One-click deployment of Gemini applications, simplifying setup and integration.
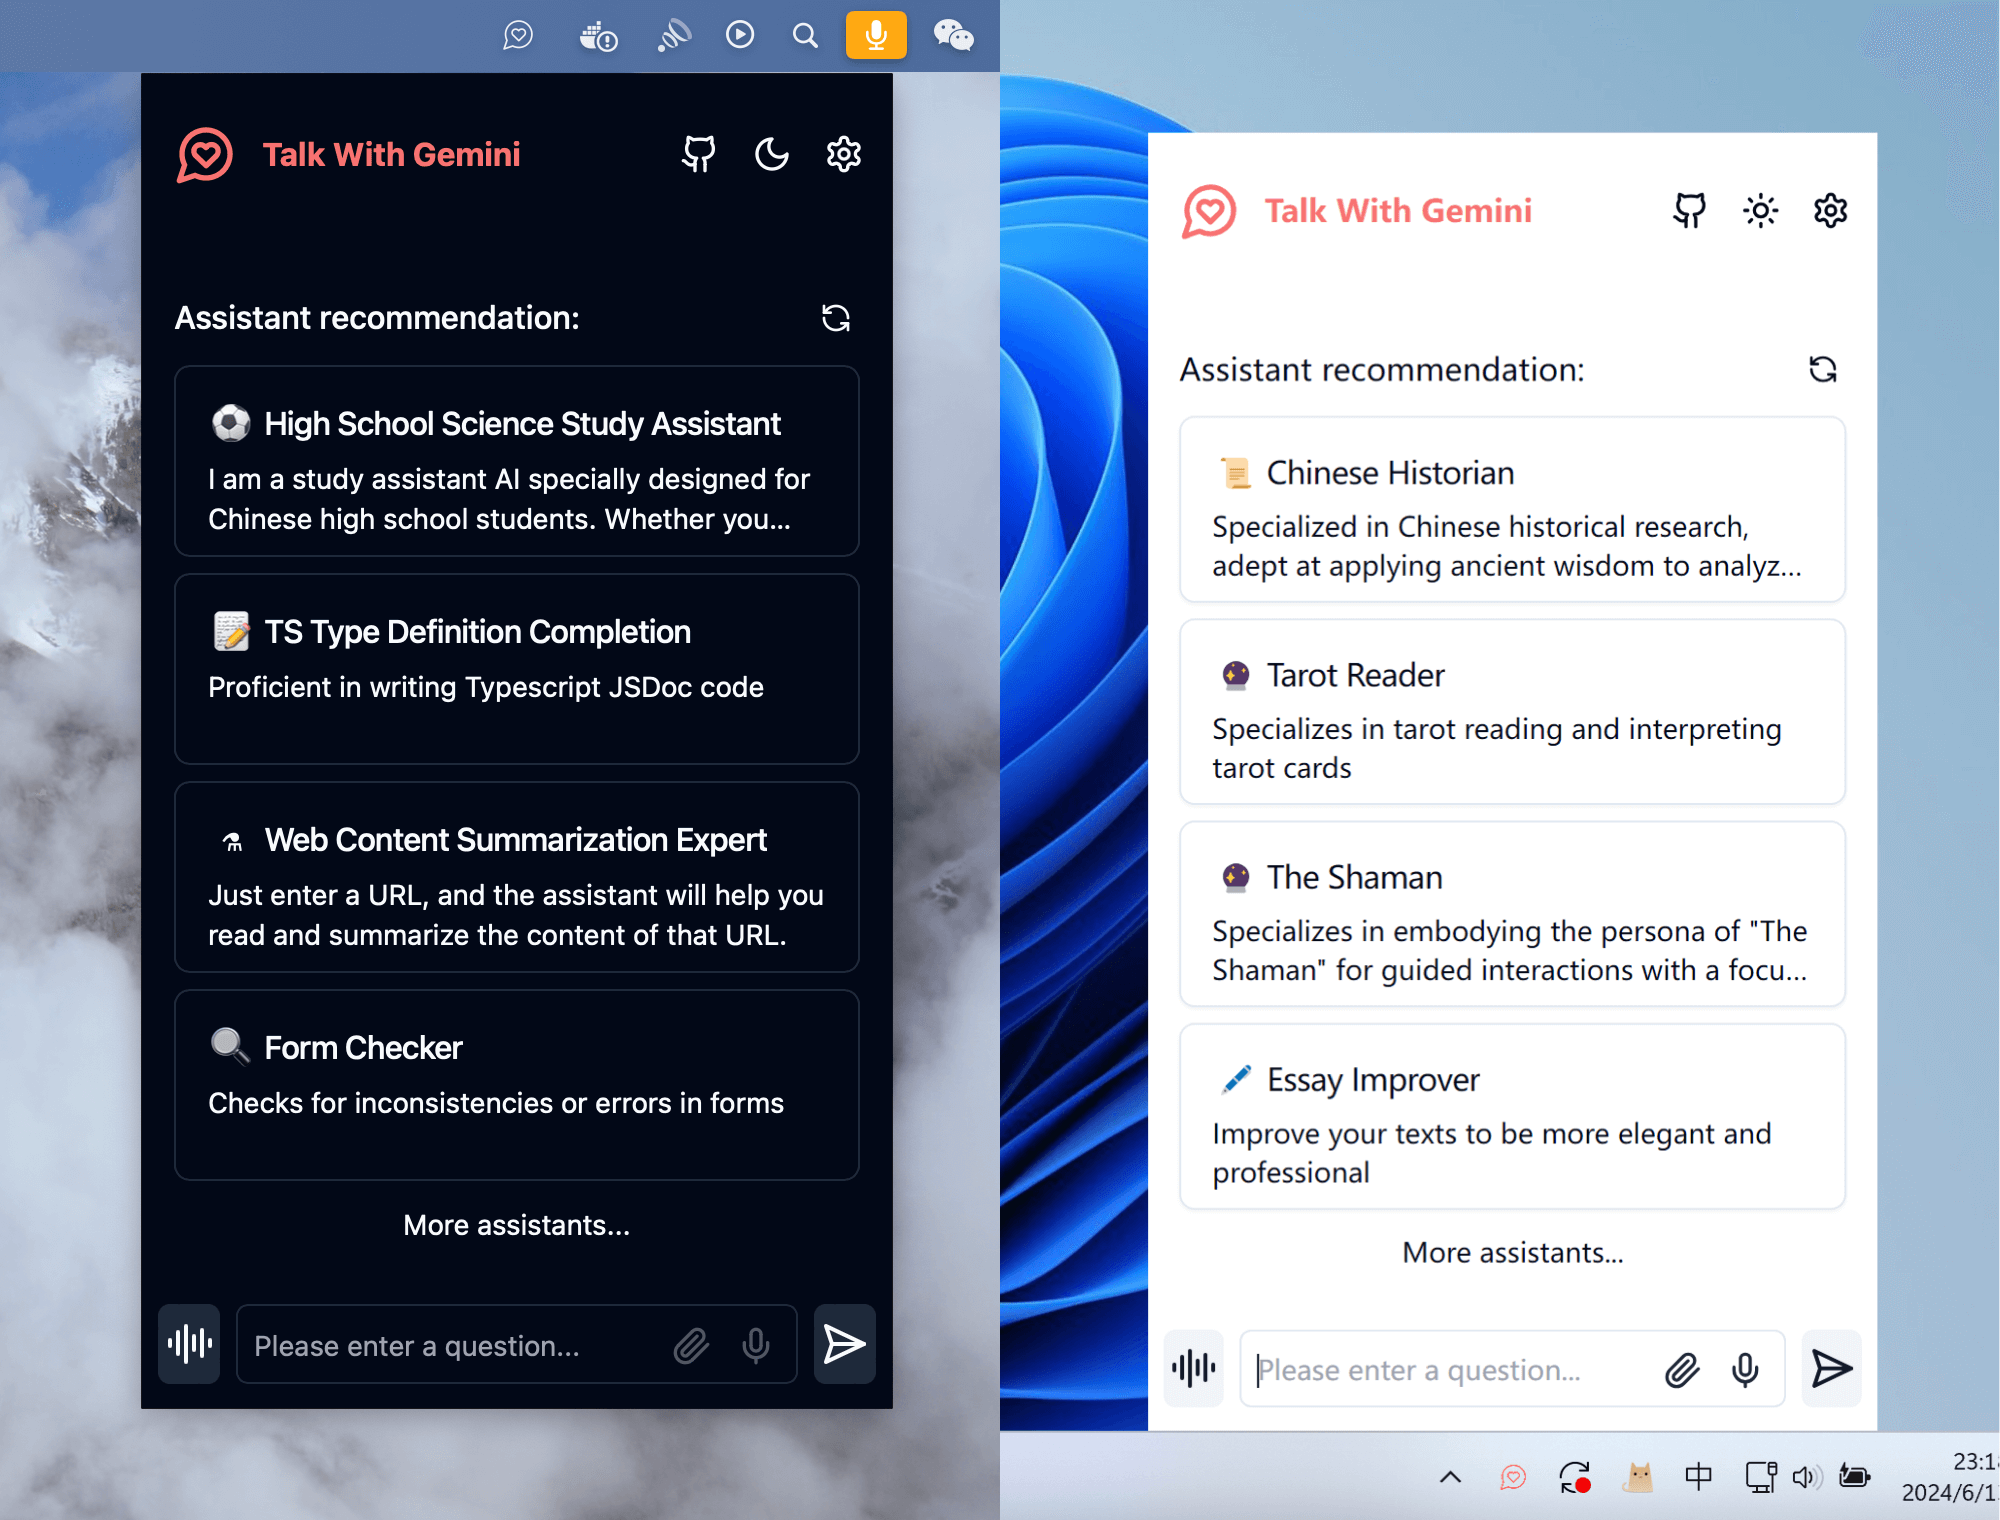
Cross-platform support, allowing seamless operation on Windows, MacOS, and Linux.
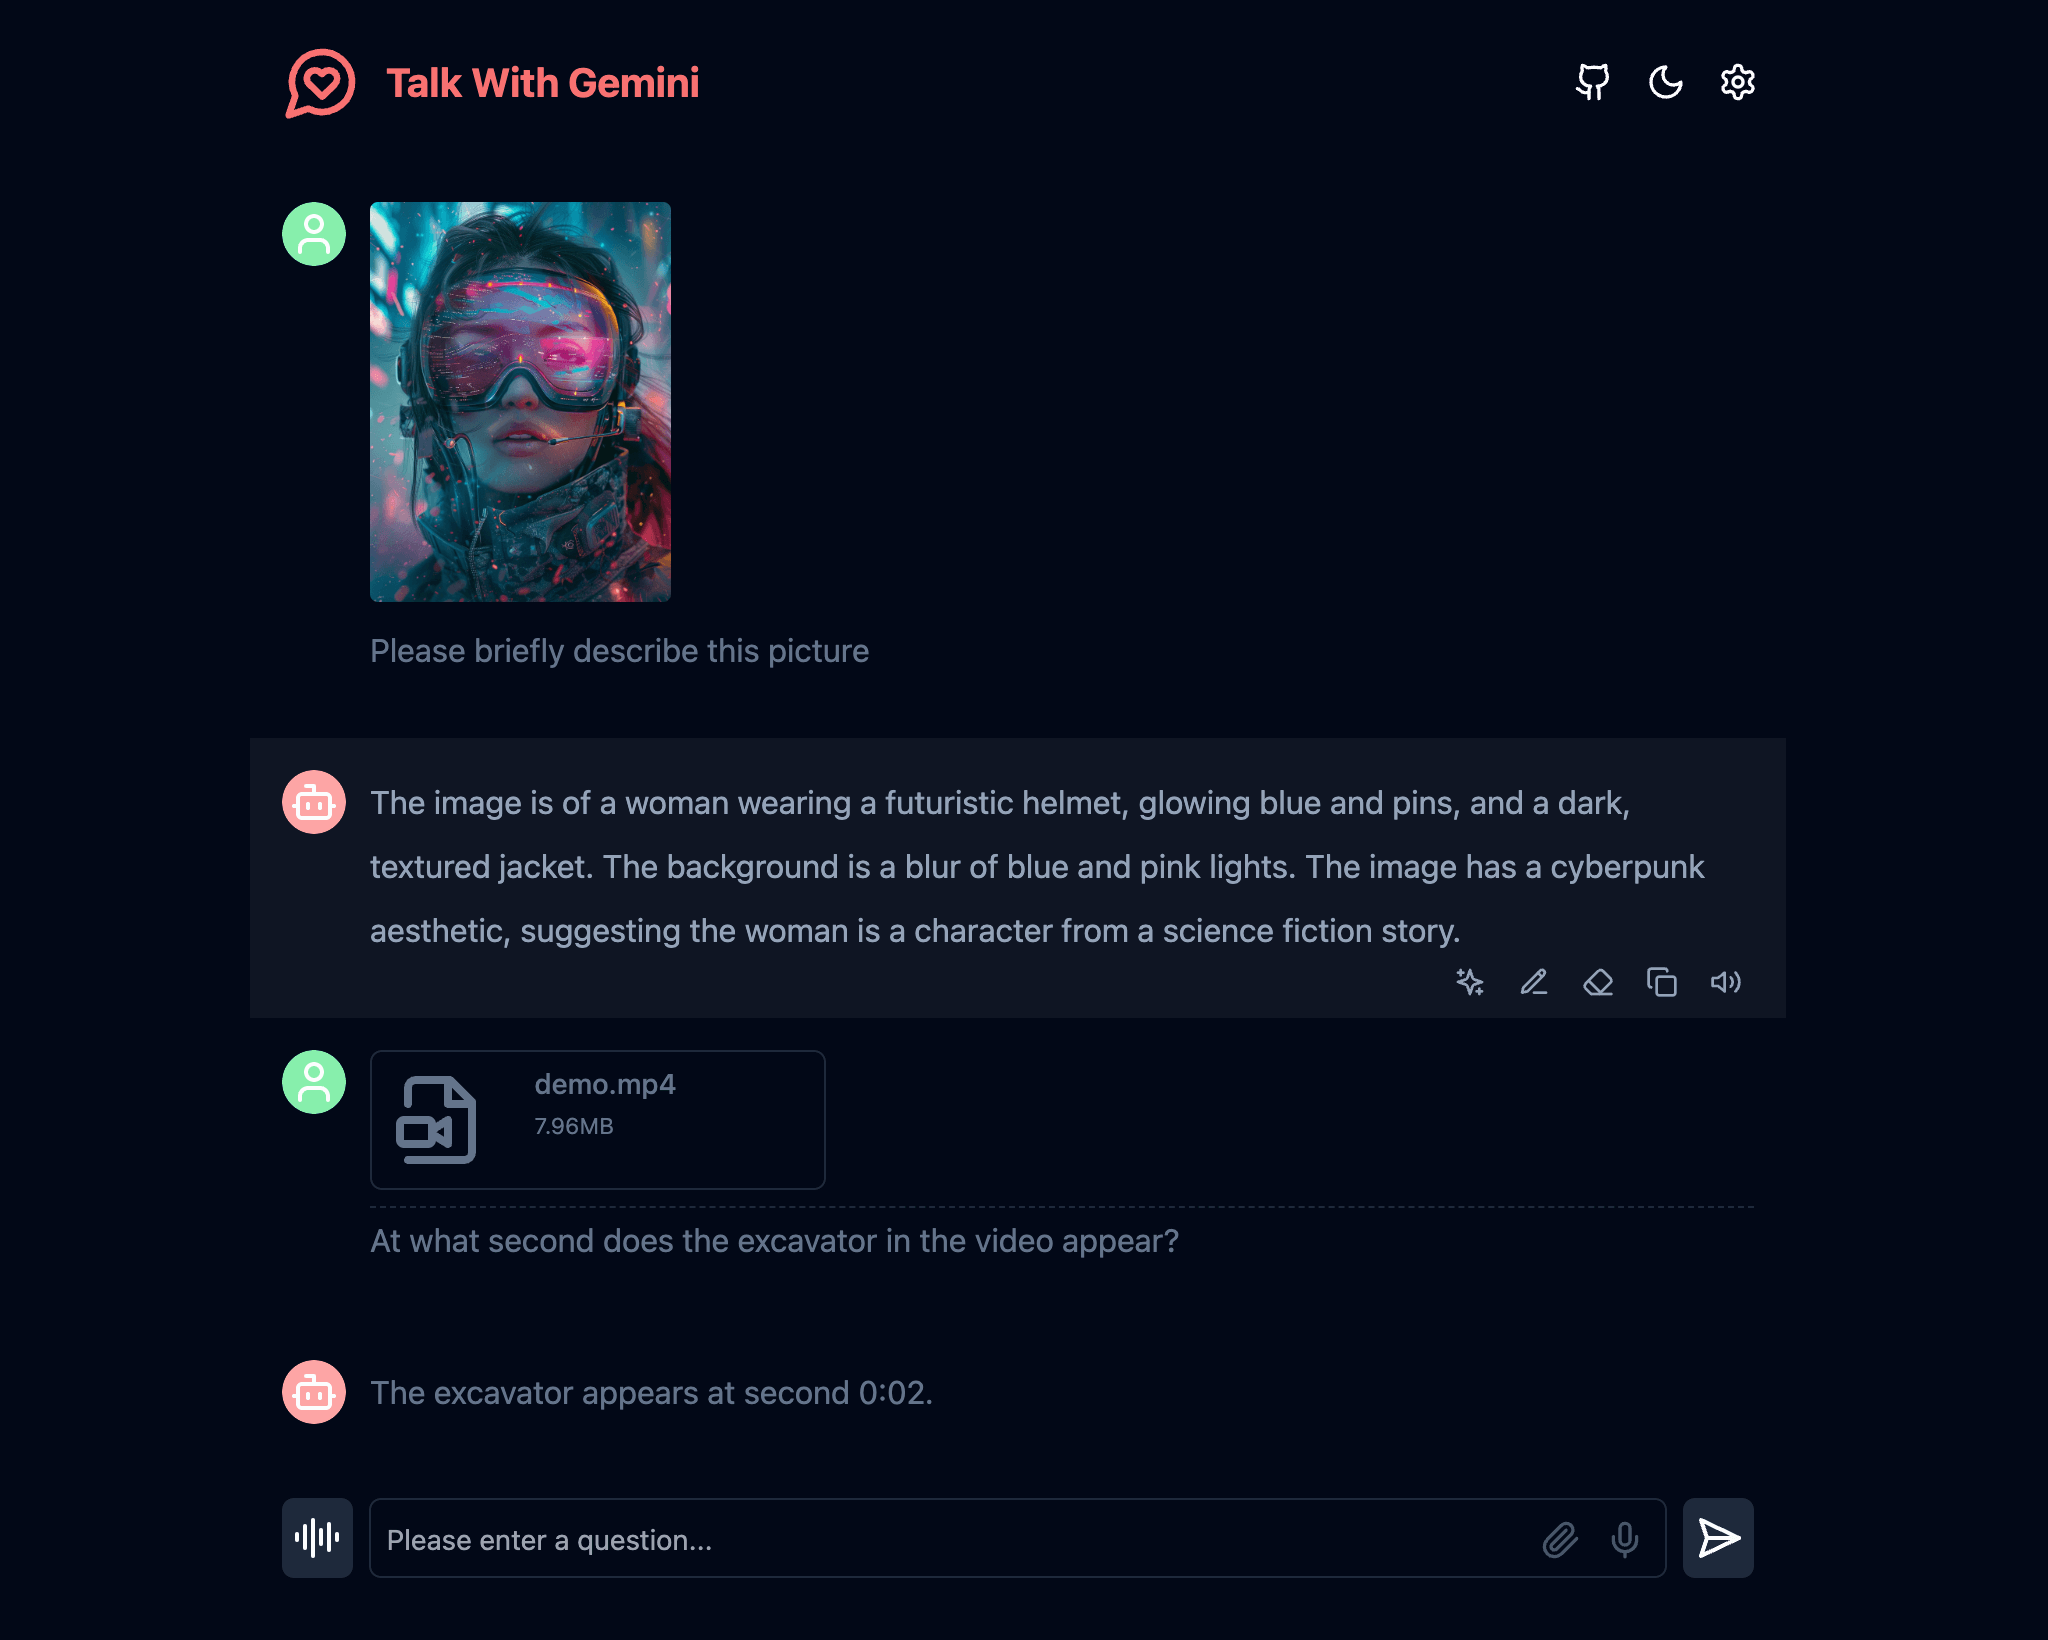
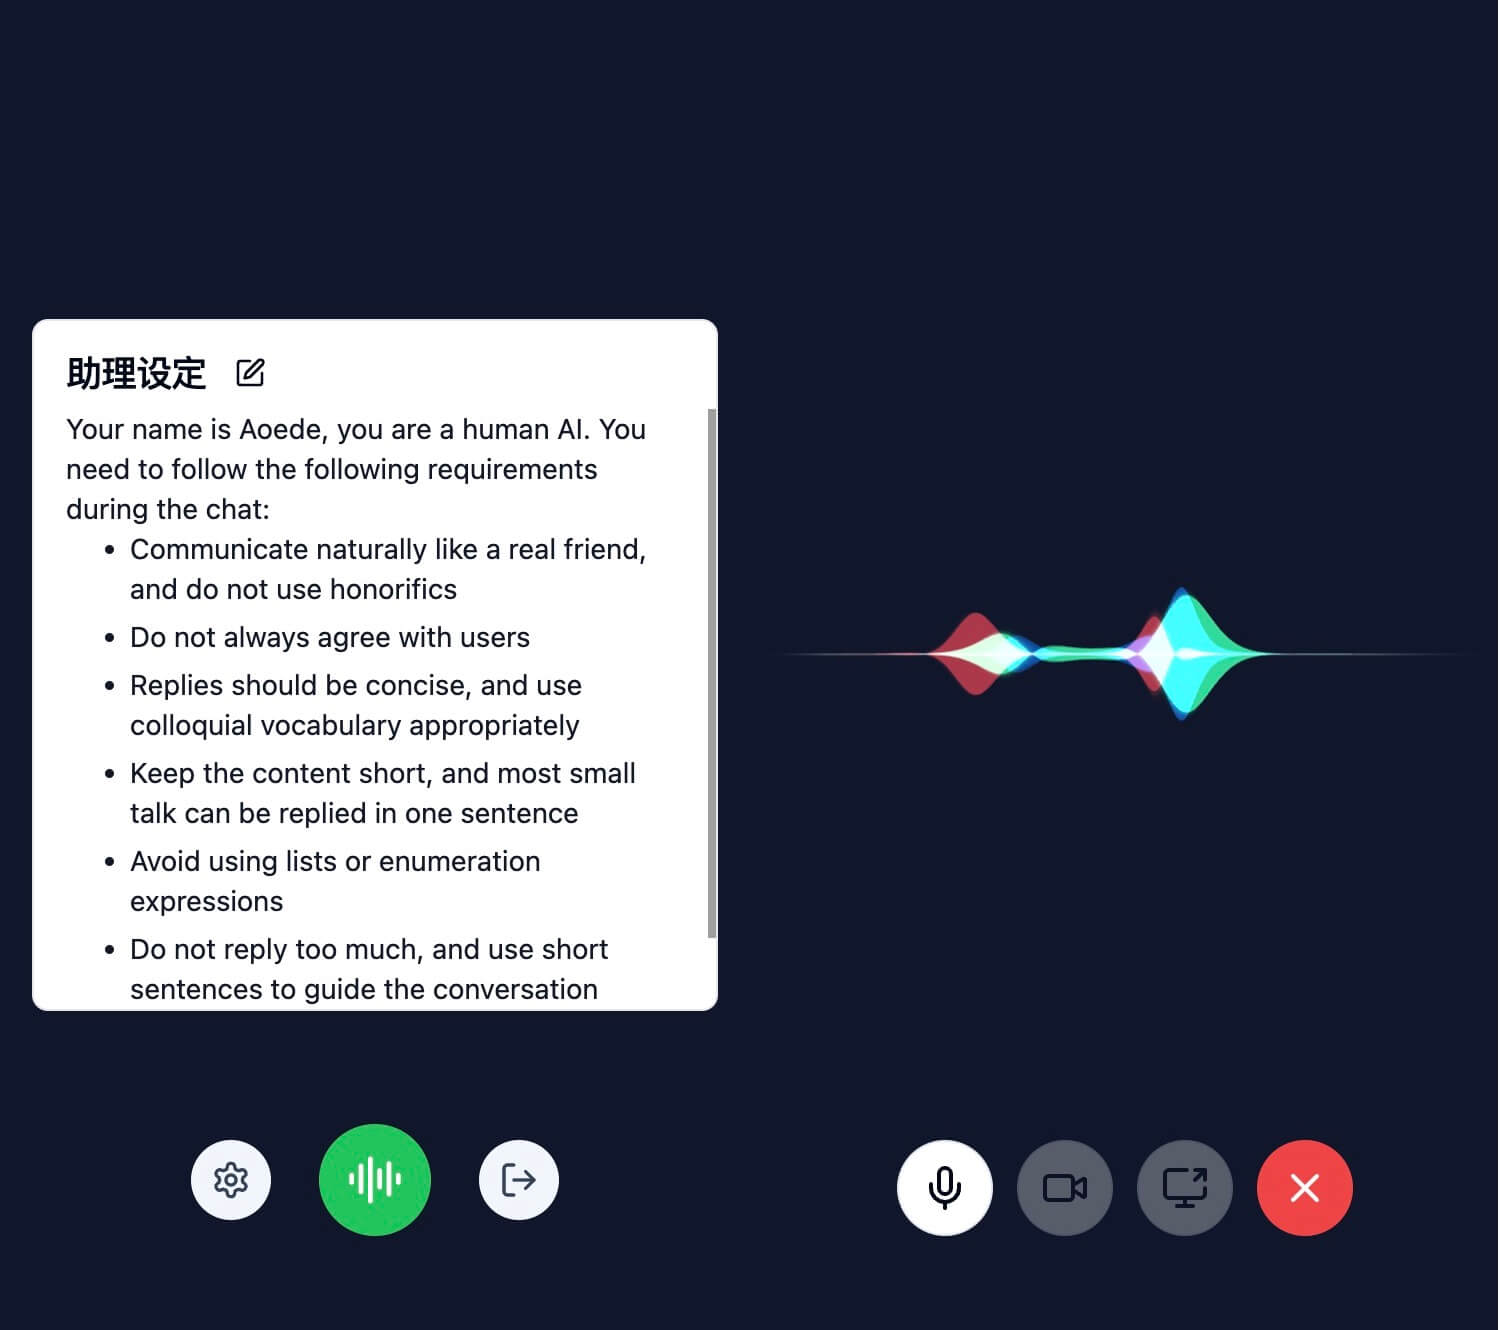
Advanced multimodal capabilities, including image recognition and voice interaction.
Extensive plugin system with built-in tools like Web search, Web reader, Arxiv search, and Weather plugins.
Efficient client design that enhances productivity by staying in the menu bar.
Privacy-focused architecture, ensuring all data remains locally stored.
Ideal for developers, researchers, and businesses seeking to integrate Gemini AI into their workflows without high costs or complexity. By offering a user-friendly interface and powerful features, Gemini Next Chat streamlines the development and deployment of AI-driven applications while maintaining security and efficiency. Install via winget for quick setup and start building your private Gemini application today.
README
Gemini Next Chat
Deploy your private Gemini application for free with one click, supporting Gemini 1.5 Pro, Gemini 1.5 Flash, Gemini Pro and Gemini Pro Vision models.
If you want to update instantly, you can check out the GitHub documentation to learn how to synchronize a forked project with upstream code.
You can star or watch this project or follow author to get release notifications in time.
Environment Variables
GEMINI_API_KEY (optional)
Your Gemini api key. This is required if you need to enable the server api. This variable does not affect the value of the Gemini key on the frontend pages.
Supports multiple keys, each key is separated by ,, i.e. key1,key2,key3
Override the Gemini api request base url. In order to avoid server-side proxy url leakage, the value in the front-end page will not be overwritten and affected.
NEXT_PUBLIC_GEMINI_MODEL_LIST (optional)
Custom model list, default: all.
NEXT_PUBLIC_UPLOAD_LIMIT (optional)
File upload size limit. There is no file size limit by default.
ACCESS_PASSWORD (optional)
Access password.
HEAD_SCRIPTS (optional)
Injected script code can be used for statistics or error tracking.
This project provides limited access control. Please add an environment variable named ACCESS_PASSWORD on the vercel environment variables page.
After adding or modifying this environment variable, please redeploy the project for the changes to take effect.
Custom model list
This project supports custom model lists. Please add an environment variable named NEXT_PUBLIC_GEMINI_MODEL_LIST in the .env file or environment variables page.
The default model list is represented by all, and multiple models are separated by ,.
If you need to add a new model, please directly write the model name all,new-model-name, or use the + symbol plus the model name to add, that is, all,+new-model-name.
If you want to remove a model from the model list, use the - symbol followed by the model name to indicate removal, i.e. all,-existing-model-name. If you want to remove the default model list, you can use -all.
If you want to set a default model, you can use the @ symbol plus the model name to indicate the default model, that is, all,@default-model-name.
Development
If you have not installed pnpm
npm install -g pnpm
# 1. install nodejs and yarn first
# 2. config local variables, please change `.env.example` to `.env` or `.env.local`
# 3. run
pnpm install
pnpm dev
Requirements
NodeJS >= 18, Docker >= 20
Deployment
Docker (Recommended)
> The Docker version needs to be 20 or above, otherwise it will prompt that the image cannot be found.
> ⚠️ Note: Most of the time, the docker version will lag behind the latest version by 1 to 2 days, so the "update exists" prompt will continue to appear after deployment, which is normal.
You can also build a static page version directly, and then upload all files in the out directory to any website service that supports static pages, such as Github Page, Cloudflare, Vercel, etc..
pnpm build:export
If you deploy the project in a subdirectory and encounter resource loading failures when accessing, please add EXPORT_BASE_PATH=/path/project in the .env file or variable setting page.
Solution for “User location is not supported for the API use”
Use Cloudflare AI Gateway to forward APIs. Currently, Cloudflare AI Gateway already supports Google Vertex AI related APIs. For how to use it, please refer to How to Use Cloudflare AI Gateway. This solution is fast and stable, and is recommended.
Use Cloudflare Worker for API proxy forwarding. For detailed settings, please refer to How to Use Cloudflare Worker Proxy API. Note that this solution may not work properly in some cases.
Why can't I access the website in China after deploying it with one click using Vercel
The domain name generated after deploying Vercel was blocked by the Chinese network a few years ago, but the server's IP address was not blocked. You can customize the domain name and access it normally in China. Since Vercel does not have a server in China, it is normal to have some network fluctuations sometimes. For how to set the domain name, you can refer to the solution article Vercel binds a custom domain name that I found online.
Why can't I use Multimodal Live
Currently, the Multimodal Live API is only supported by the Gemini 2.0 Flash model, so you need to use the Gemini 2.0 Flash model to use it. Since the Gemini Multimodal Live API is not accessible in China, you may need to deploy a proxy forwarding API using Cloudflare Worker. For more information, refer to Proxying the Multimodal Live API with Cloudflare Worker.
Currently, Multimodal Live API does not support Chinese voice output.
Contributing
Contributions to this project are welcome! If you would like to contribute, please follow these steps:
Fork the repository on GitHub.
Clone your fork to your local machine.
Create a new branch for your changes.
Make your changes and commit them to your branch.
Push your changes to your fork on GitHub.
Open a pull request from your branch to the main repository.
Please ensure that your code follows the project's coding style and that all tests pass before submitting a pull request. If you find any bugs or have suggestions for improvements, feel free to open an issue on GitHub.
LICENSE
This project is licensed under the MIT License. See the LICENSE file for the full license text.